
How to Download Movies from Netflix on Mac for Offline Viewing
It’s a question I hear all the time: "How do I download movies from Netflix on my Mac?" We’ve all been there—staring down a long flight or a daily commute with no Wi-Fi, wishing we could just save a few episodes offline.
The frustratingly simple answer is that you can't. At least, not in the way you'd expect, because Netflix has never released a native app for macOS that supports downloads.
So, Why Can't You Just Download Netflix Movies on a Mac?

If you've ever searched the Mac App Store for Netflix, you already know the result: nothing. You can stream perfectly fine from your browser, of course, but that all-important download button for offline viewing is nowhere to be found.
This isn't some bug or oversight. Netflix made a deliberate choice to build out its offline viewing features for mobile platforms and Windows, where they saw the highest demand. This leaves Mac users stuck, needing to find a workaround to watch their favorite shows and movies without being tethered to an internet connection.
It's All About Platform Support (or Lack Thereof)
The root of the issue comes down to Digital Rights Management (DRM). To prevent piracy, Netflix needs a secure, locked-down app environment to handle downloaded files. They've invested in building this for iOS, Android, and Windows, but for whatever reason, they've opted not to do the same for macOS.
This decision creates a pretty jarring gap in the user experience. Your iPhone and iPad have had offline viewing for years, but your powerful MacBook is left out. It’s an odd choice, especially when you consider the huge appetite for app-based features. The Netflix mobile app, for instance, gets around 251,480 downloads a month in the U.S. alone, showing just how much people value that on-the-go convenience.
With a global subscriber base of over 282 million paid users, leaving the entire Mac ecosystem without a native solution feels like a significant miss. You can dig into these app download statistics and Netflix subscriber numbers yourself to see the scale.
Here's the takeaway: There is no official, one-click way to save a movie from Netflix directly onto your MacBook's hard drive. But don't worry, that doesn't mean you're out of luck.
Official Netflix Download Support by Platform
To really put the Mac situation into perspective, a quick look at how Netflix handles downloads across different operating systems is helpful. This table shows exactly where the gap is.
| Operating System | Native App Available | Direct Download Support |
|---|---|---|
| macOS | No | ❌ |
| Windows | Yes | ✅ |
| iOS (iPhone/iPad) | Yes | ✅ |
| Android | Yes | ✅ |
The comparison makes it crystal clear—this limitation is unique to macOS. Thankfully, a few perfectly legitimate and effective workarounds can get the job done, and we’ll walk through them next.
Using Your iPhone or iPad with AirPlay
So, you can't download Netflix titles directly to your Mac. It’s a frustrating limitation, but there’s a clever and officially supported workaround that most people already have the gear for. If you have an iPhone or iPad, you can turn it into a portable Netflix drive for your MacBook.
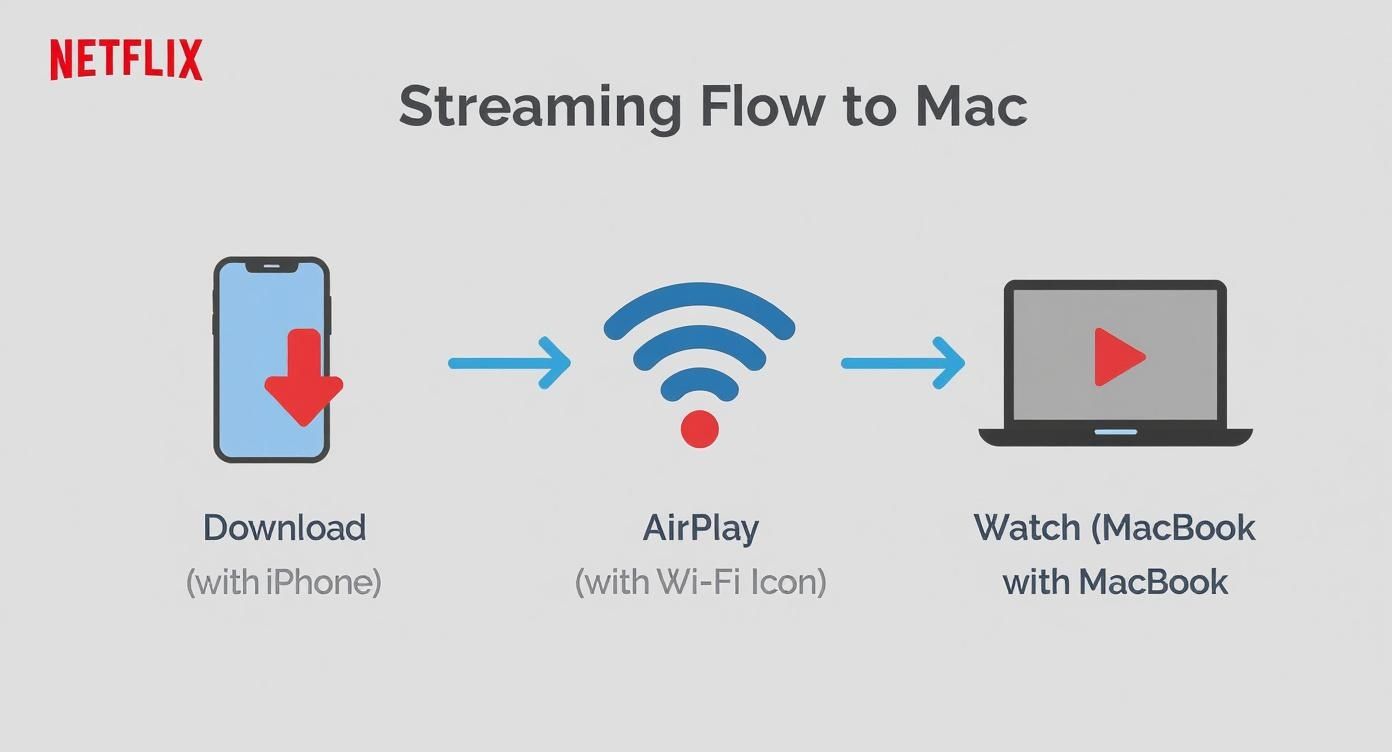
The idea is simple: you download the show or movie onto your iOS device using the official Netflix app, then use AirPlay to stream that downloaded, offline content straight to your Mac’s screen. This is my go-to method for flights or train rides when I want a bigger screen than my phone but have zero internet.
First, Download on Your iPhone or iPad
Everything starts on the device that Netflix actually supports for downloads. Grab your iPhone or iPad, open the Netflix app, and navigate to whatever you want to watch offline.
You’re looking for the little download icon—it’s an arrow pointing down—next to an episode or on a movie's details page. Just tap it, and the download will kick off.
A couple of pro-tips for this step:
- Manage Video Quality: Before you start, pop into the Netflix app settings (App Settings > Download Video Quality). You can choose between 'Standard' and 'High'. Standard is a real space-saver, perfect if you're grabbing a whole season or your device is low on storage.
- Find Your Downloads: Once it's saved, everything lives in the Downloads section, which you can find in the app's main navigation menu. This is your offline library.
Keep in mind that Netflix downloads have an expiration date, and it’s different for every title. Some expire 48 hours after you first hit play, while others might last a week or more. It's always a good idea to peek at the Downloads tab for any "expiring soon" warnings before you leave home.
The Big Picture: You're essentially splitting the process in two. You download everything on your phone or iPad when you have good Wi-Fi, then you can watch it all on your Mac's screen later, no internet required.
Now, Stream to Your Mac with AirPlay
With your content safely downloaded on your iPhone, it’s time to get it onto your MacBook’s display. This is where AirPlay works its magic. First, you need to make sure your Mac is ready to act as a receiver.
Head over to System Settings > General > AirDrop & Handoff and check that AirPlay Receiver is toggled on. You'll see options for who can AirPlay to your Mac. For what we're doing, "Current User" is the smartest and most secure choice, as it only allows devices signed into your Apple ID.
Alright, back to your iPhone. Open the Netflix app, go to your Downloads, and start playing the show. Tap the screen to bring up the controls and look for the AirPlay icon (it looks like a screen with a small triangle at the bottom).
Tap it, and a list of nearby devices will pop up. Your MacBook should be right there. Select it.
Instantly, the video will jump from your phone to your Mac, streaming directly from your iOS device's storage. Your iPhone now becomes a handy remote control for pausing, playing, and skipping through the show. This is a bit like screen casting, and if you want to learn more about similar streaming tech, our guide on how to cast Netflix is a great resource.
This iPhone-to-Mac workflow is a rock-solid way to enjoy your downloaded Netflix shows on a bigger screen without breaking any rules or installing sketchy software.
Running Windows on Your Mac with Boot Camp
If the AirPlay method feels more like a clever workaround than a real solution, there's a more permanent and powerful option for those who don't mind getting their hands a little dirty. By using Boot Camp, an official utility built right into macOS, you can install a full-fledged version of Microsoft Windows on your Mac.
This isn't an emulator or a sluggish virtual machine. It literally turns your Mac into a dual-boot system, giving you a genuine Windows PC and your familiar macOS on the same machine. Once you boot into Windows, you can just open the Microsoft Store, grab the official Netflix app, and download shows directly. Simple as that.
So, What Exactly Is Boot Camp?
Boot Camp Assistant is a free tool that comes pre-installed on all Intel-based Macs. It walks you through the process of partitioning your hard drive—basically, carving out a dedicated space just for Windows. You aren't running Windows on top of macOS; you're running it next to it.
When you power on your Mac, you'll get to choose which operating system you want to load. This is a huge deal because it means Windows gets direct access to all your Mac's hardware—the processor, the memory, the graphics card. The result is a smooth, snappy experience, perfect for downloading and watching high-quality video.
The whole process breaks down into a few main steps:
- You’ll use the Boot Camp Assistant to decide how much of your drive space to give to Windows.
- Next, you'll install Windows using a disk image (an ISO file) and a license key.
- Finally, Boot Camp takes care of installing all the special drivers so Windows knows how to work with your Mac's keyboard, trackpad, and other components.
While the Boot Camp method is powerful, it's definitely a more involved setup. For a much simpler (though less direct) approach, the AirPlay workflow I mentioned earlier is a fantastic alternative that doesn't require you to modify your Mac at all.
As you can see, just downloading to your iPhone and beaming it over to your MacBook with AirPlay is often the path of least resistance.
The Trade-Offs You Should Consider
Now, while Boot Camp delivers a perfect Netflix download experience, it’s not a magic bullet. The biggest hurdle is storage. You'll have to dedicate at least 64GB of your drive to the Windows partition, but I’d honestly recommend 128GB or more if you plan on actually storing downloaded shows and a few apps.
Important Note: Boot Camp is an Intel-only feature. If you've got a newer Mac with an Apple silicon chip (anything in the M1, M2, or M3 family), this method is off the table. You'll have to look at virtualization software like Parallels instead.
Before you jump in, it's worth weighing the pros and cons.
| Pros of Using Boot Camp | Cons of Using Boot Camp |
|---|---|
| Native Performance: Windows runs at full speed, with no compromises. | Storage Consumption: It eats up a significant chunk of your hard drive. |
| Full App Support: You get the official Windows Netflix app with all its features. | Requires Rebooting: Switching between macOS and Windows means a full restart. |
| It's Free: The Boot Camp software itself doesn't cost a dime. | Needs a Windows License: You still have to buy a legitimate copy of Windows. |
At the end of the day, installing Windows with Boot Camp is the most reliable way to get a true, native Netflix download experience on your Mac. It’s a bit of a project and requires an investment for the Windows license, but for frequent travelers or anyone with spotty Wi-Fi, the payoff is a seamless offline viewing setup.
If rebooting your whole computer just to watch a movie feels like overkill, I get it. For those who want to download movies from Netflix on your Mac without ever leaving the comfort of macOS, virtualization is the way to go. Apps like Parallels Desktop and VMware Fusion let you run a full-blown version of Windows in a separate window, just like any other Mac app.
It’s a bit like having two computers in one, but without the extra hardware cluttering your desk. You can have the Windows Netflix app downloading a series in one window while you're still working in Safari or checking your email on the Mac side. This seamless back-and-forth is precisely why many people prefer it over a dual-boot setup.
The Power of Running Two Worlds at Once
So, how does it work? Virtualization software creates a "virtual machine" (or VM), which is basically a self-contained digital computer that uses your Mac's hardware. You install Windows on this VM, head over to the Microsoft Store, grab the official Netflix app, and start downloading shows directly to the VM's virtual hard drive.
The convenience here is the real game-changer.
- No More Rebooting: Jump between macOS and Windows as easily as you switch between Chrome and Spotify.
- A Truly Integrated Feel: You can literally drag and drop files from your Mac desktop right into your Windows environment.
- Easy Troubleshooting: "Snapshots" let you save the state of your Windows machine. If something goes wrong, you can just revert back to a working version in seconds.
And here's a big plus: unlike Boot Camp, this method works perfectly on all modern Macs, including the latest models with Apple silicon (M1, M2, and M3 chips). Parallels, especially, has done a fantastic job optimizing for these chips, so running the ARM version of Windows 11 feels surprisingly fast and smooth.
Virtualization gives you the best of both worlds: the power of Windows apps running right inside the familiar, slick environment of macOS. For anyone who prizes a smooth and uninterrupted workflow, this is the ultimate setup.
Understanding the Performance and Cost
While virtualization is incredibly handy, there are a couple of things to keep in mind. First, this software isn't free. A new license for Parallels Desktop or VMware Fusion will usually set you back between $80 and $100, and that's on top of needing a valid Windows license.
Second, you’re splitting your Mac's resources. A chunk of your RAM and CPU power has to be dedicated to running Windows. Modern Macs are beasts and can handle this just fine, but it’s still something to be aware of.
To get smooth downloads and hiccup-free playback, you'll want to give your VM enough juice.
| Setting | Recommended Configuration | Why It Matters |
|---|---|---|
| RAM Allocation | At least 8GB for the VM | This prevents Windows from feeling sluggish and makes sure your HD videos play without stuttering. |
| CPU Cores | Assign 2-4 cores | Gives the Netflix app enough processing power to work efficiently without bogging down macOS. |
| Disk Space | At least 100GB of virtual disk space | You need enough room for the Windows OS itself, the Netflix app, and a decent library of downloaded shows. |
This whole approach is ideal for people who need to dip into Windows for specific things—like downloading Netflix content—but don't want the hassle of constantly rebooting. It's a more flexible solution than Boot Camp that keeps you right where you want to be: in your macOS workflow.
Staying Within Netflix's Rules and Limitations

Before you jump into downloading your favorite shows for that long flight, it’s crucial to know the ground rules. Netflix is pretty clear about what is and isn't allowed in its Terms of Service, and ignoring them could get your account flagged or even shut down.
The main thing to remember is that any tool that tries to break Netflix's DRM (Digital Rights Management) is a major no-go. This means sketchy third-party websites or screen recorders are off the table. Honestly, most of them don't even work—you’ll just end up with a useless black screen file while potentially exposing your Mac to security risks.
On the other hand, the workarounds we've discussed—like using Boot Camp or Parallels—are generally fine. Why? Because you're still using the official Netflix app for Windows. You’re simply running it on different software on your Mac, but you're playing by their rules within their ecosystem.
Understanding Your Account's Download Limits
Beyond the "how," there are practical limits tied to your specific subscription plan. These aren't Mac-specific; they apply to any device you download content on.
Here’s what you need to keep in mind:
- Device Limit: You can only have active downloads on a certain number of devices at once. This starts at 1 device for the Standard with ads plan and goes up to 6 devices for Premium subscribers.
- Content Limit: A single device can hold a maximum of 100 active downloads at any given time.
- Expiration Dates: Downloads don’t last forever. Some will expire as quickly as 48 hours after you first hit play, while others might stick around for a few weeks. You'll always see a countdown in your downloads tab.
- Annual Caps: For some titles, studios only allow a certain number of downloads per account per year. Once you hit that limit, you'll have to wait.
These rules are especially important if you’re sharing an account with family or friends. If someone else has already maxed out the available device slots, you simply won't be able to download anything until a device is removed from the account. To get a better handle on this, you can learn more about how Netflix sharing policies work and manage your group plan effectively.
Pro Tip: Always check the "Downloads" section in the app for any expiration warnings before you head out the door. It’s a simple step that can save you from a lot of travel-day disappointment.
With over 280 million subscribers, the demand for offline viewing is massive. It’s what makes the lack of a native Mac app so frustrating for many users. But by sticking to the legitimate methods, you can get the job done and enjoy your content on your Mac without putting your account at risk.
Got Questions About Netflix Downloads on Your Mac?
Even with the workarounds we’ve covered, I know there are still some lingering questions about watching Netflix offline on a Mac. It’s a common point of confusion, so let's clear up a few of the most frequent ones I hear.
Why Can't I Just Get a Netflix App for My Mac?
This is the big one, isn't it? While Netflix has never given an official, detailed reason, it almost certainly boils down to a business decision. From their perspective, the web browser experience on macOS is good enough for most people.
Building and, more importantly, maintaining a dedicated Mac app with all the necessary DRM (Digital Rights Management) security is a massive investment. They’ve likely decided their engineering resources are better spent on platforms where offline viewing is critical, like phones for commuters or Windows tablets. For now, it seems a native Mac app just isn't high on their priority list.
Can I Just Screen Record What I Want to Watch?
I get why people ask this, but the answer is a hard no. First off, trying to screen record Netflix is a direct violation of their Terms of Service, which could get your account flagged or even suspended.
But more practically, it just doesn’t work. Modern operating systems and browsers are built to prevent this. The second you hit record, the DRM kicks in and all you’ll capture is a black screen with audio. It’s a dead end, so don't waste your time.
How Much Space Will These Downloads Actually Take Up?
This really depends on two things: how long the movie or show is, and what quality you download it in. Netflix gives you a couple of choices.
- Standard Quality: This is your best bet for saving space. A typical 90-minute movie will probably land somewhere around 500MB.
- High Quality: If you want a crisper image for that big screen, be prepared for a much larger file. That same movie could easily take up 2GB or more.
As a general rule of thumb, a single one-hour episode usually clocks in between 250MB and 1GB. It’s always a good idea to peek at your available storage before you start queuing up an entire season.
A common headache, especially on shared accounts, is hitting your device limit right when you need to download something. It pays to know how to remove devices from a Netflix account to free up a slot. Mastering this little trick ensures you can always save that movie for your flight without any last-minute drama.
Juggling multiple subscriptions gets expensive fast. At AccountShare, we make premium services more accessible. By letting you join group buys, we help you cut down on costs while we handle the secure and simple account management. Check out a smarter way to enjoy your favorite streaming platforms and tools at https://accountshare.ai.