
iCloud Secondary Authentication Explained
Think of your Apple ID password as the key to your front door. It’s important, but what if someone steals it? Without a second lock, they can walk right in. That’s precisely what iCloud secondary authentication—more commonly known as two-factor authentication (2FA)—is for. It’s that essential second lock, ensuring that even with your password, no one gets into your digital life without your permission.
Why iCloud Authentication Is Your Digital Bodyguard
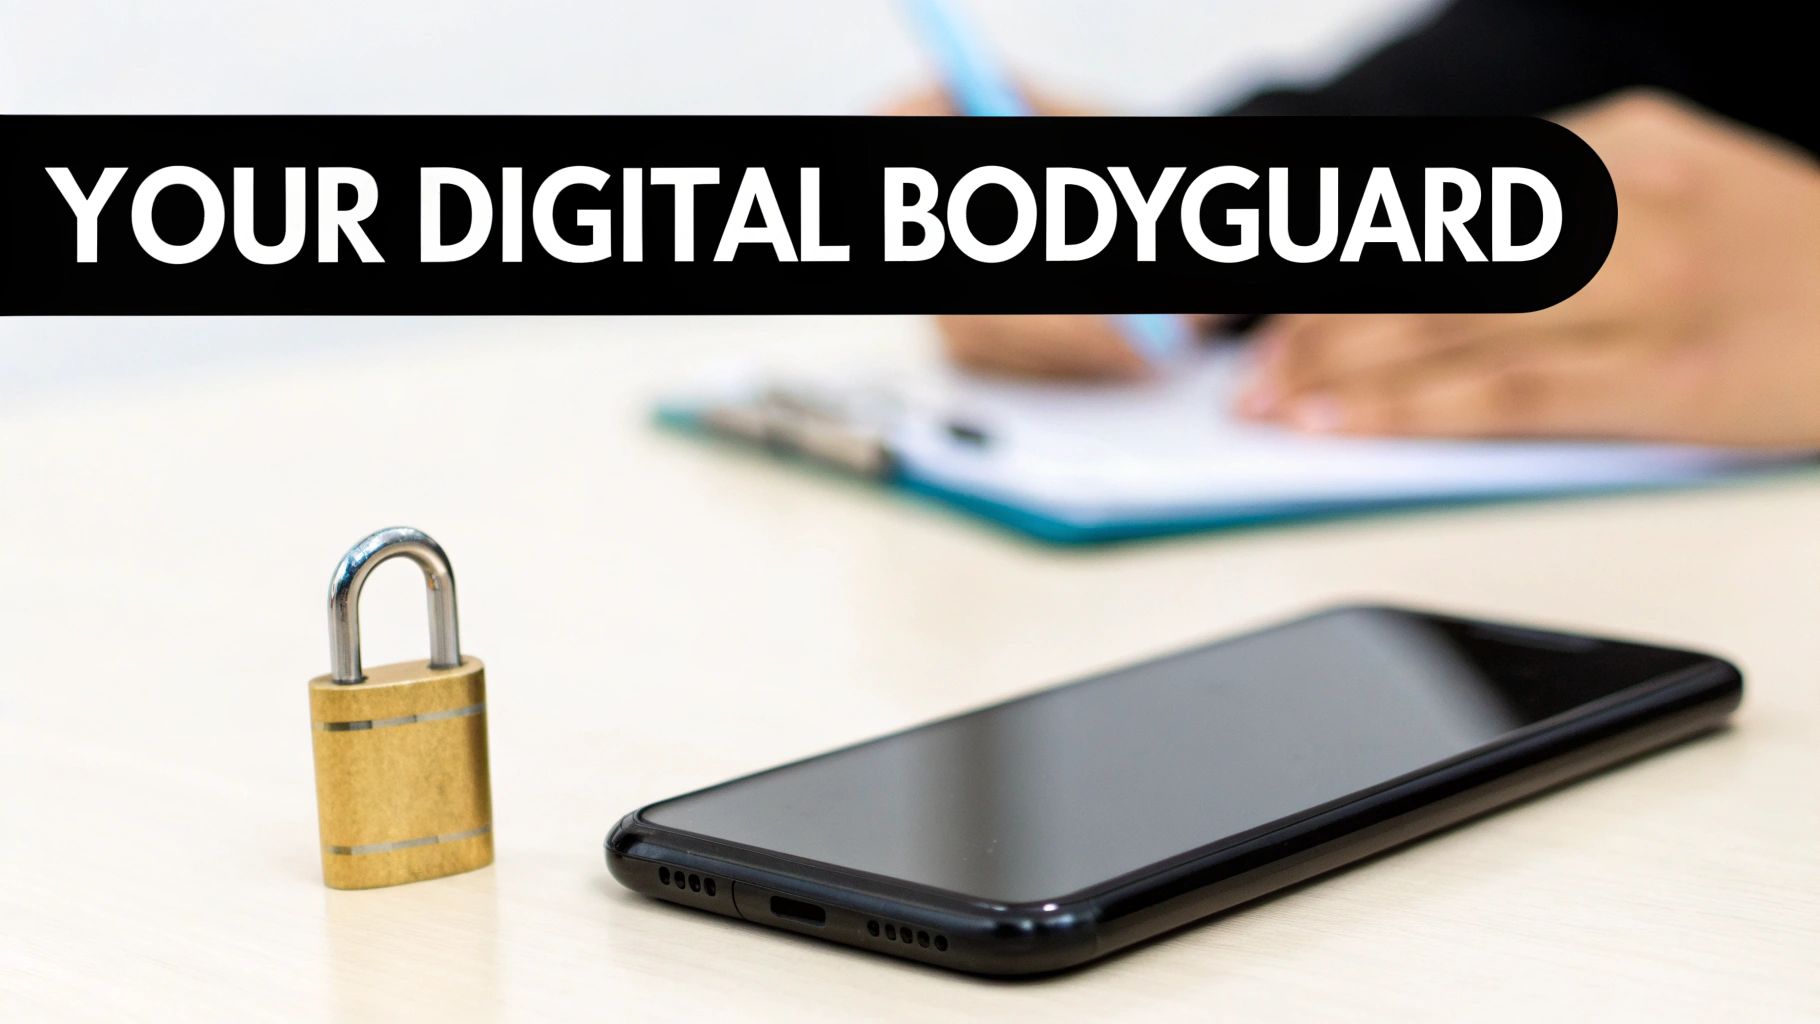
The screen you see above is your command center for Apple ID security, right in your iPhone's settings. This is where you'll manage all the features that keep your account safe, including that all-important second layer of authentication.
Your password alone is just not enough anymore. A compromised password could expose everything—your private photos, iMessages, contacts, and even financial information linked to Apple Pay. iCloud's 2FA acts as a dedicated bodyguard, demanding a second form of proof that it’s really you trying to log in.
The Real-World Impact of an Extra Security Layer
Let's walk through a real-world example. Imagine a hacker gets your Apple ID password, maybe from a company data breach or a convincing phishing email. They immediately try to sign into iCloud on their own computer to access your data.
But you have 2FA turned on. The moment they try, your iPhone and MacBook buzz with a notification. It shows a map of the hacker's approximate location and asks if you approve the sign-in. With one tap on "Don't Allow," you block them completely. The intruder is locked out. They might have the key, but they can't get past your digital bodyguard.
This simple step transforms your security from a single, fragile point of failure into a strong, multi-layered defense. It’s the difference between leaving your front door unlocked and having a full security system on patrol.
The impact of 2FA on account security has been massive. As of 2025, over 90% of active Apple ID accounts have it enabled, which has helped cut down unauthorized access attempts by more than 70%. It’s not just a feature; it’s a proven defense.
More Than Just Login Protection
This goes way beyond just stopping a bad login. It’s a powerful defense against the most common phishing attacks, where scammers trick you into handing over your password. Even if you fall for the trick, 2FA means they still can’t get in without the code from your device.
For those of us using services like AccountShare, where accounts might be accessed by family or team members, having rock-solid personal security is non-negotiable. Securing your own Apple ID with 2FA is the first and most important step. If you're looking for more ways to lock down your accounts, our guide on how to prevent unauthorized access is a great next read.
Before we dive into the setup, let's quickly break down the different layers that protect your Apple ID.
Key Security Layers of Your Apple ID
| Security Layer | What It Protects | How It Works |
|---|---|---|
| Password | The first line of defense | A complex, unique string of characters only you should know. |
| Two-Factor Authentication (2FA) | Unauthorized sign-in attempts | Requires a temporary 6-digit code sent to a trusted device you own. |
| Trusted Devices | Access control | Pre-approved iPhones, iPads, or Macs that can receive 2FA codes. |
| Recovery Key/Contacts | Account lockout recovery | A 28-character code or a designated person who can help you regain access if you forget your password. |
Each of these components works together, but 2FA is the active gatekeeper that stops threats in their tracks.
How to Enable Two-Factor Authentication
Flipping the switch on two-factor authentication is one of the single most impactful things you can do for your digital security. It’s that second layer of defense that really works, and thankfully, Apple has made it incredibly easy to set up.
Let's walk through getting it activated on your devices. No complex tech talk, just a quick tour through your settings.
Activating on Your iPhone or iPad
Since your iPhone is probably with you 24/7, it's the natural place to start. Enabling two-factor authentication here makes your phone the master key to your digital kingdom, protecting your account everywhere else.
First, pop open the Settings app. You’ll see your name and picture right at the top—give that a tap to get into your Apple ID settings. This is the command center for your entire account.
From there, head into Password & Security. If two-factor authentication is off, you’ll see the option to get it started. Tap "Turn On Two-Factor Authentication," and you're on your way.
This is the moment your account's security gets physically tied to your devices. From here on out, anyone trying to get into your account will need more than just your password; they'll need your iPhone or iPad in their hands.
The next step is crucial: you'll be asked to add and verify a trusted phone number. This is your primary backup. It’s where Apple sends a verification code if you’re signing in on a new device and don’t have another trusted device nearby. And don't worry, this can be any phone that gets texts or calls—even an Android phone works.
Setting Up on Your Mac
For those who live and breathe on their Mac, the process is just as seamless. You'll find the controls right in System Settings (or System Preferences if you're on an older version of macOS).
Open up System Settings and click your name at the top of the sidebar. Then, find and select Password & Security. Just like on your iPhone, you'll see the status for two-factor authentication. If it's off, you can flip it on right from this screen.
You’ll be prompted to confirm a trusted phone number, just like on iOS. This consistency is what creates a solid security net around your Apple ID. It's a fundamental principle of modern security, falling right in line with the latest 2025 password management best practices that call for multiple layers of protection.
Once enabled, your settings will clearly show "On," confirming that your account is now actively protected against unauthorized access.
Enabling from a Web Browser
What if you’re away from your devices or setting up a new account from scratch? No problem. You can still activate this essential security feature from any web browser.
Just head over to the official Apple ID website and sign in. Once you're in, look for the Account Security section on your management page.
You'll see the option to turn on Two-Factor Authentication. Click it and follow the prompts. Once again, you'll be asked to verify a trusted phone number, ensuring your account is locked down no matter where you manage it from.
Managing Your Trusted Devices and Numbers
Turning on two-factor authentication is a great first step, but it’s really just the beginning. The real-world security of your iCloud account depends on how well you manage the devices and phone numbers connected to it. Think of these as the active gatekeepers to your digital life—they're not something you can just set and forget.
A trusted device is any iPhone, iPad, or Mac that you’ve already signed into with your Apple ID using two-factor authentication. Apple recognizes it as yours, so it can display those six-digit verification codes when you try to sign in somewhere new.
On the other hand, a trusted phone number is your backup plan. It’s any phone—it doesn’t even have to be a smartphone—that can get a text message or an automated phone call with a verification code. This is crucial for when you don't have your trusted devices handy.
Keeping this list clean and current is non-negotiable. It’s like managing the spare keys to your house; you always need to know exactly who has access and be ready to revoke it instantly.
Trusted Device vs Trusted Number: What's the Difference?
It's easy to get these two confused, but they serve distinct purposes in keeping your account secure. A trusted device is an active part of your Apple ecosystem, while a trusted number is more of a passive recovery tool.
Here's a quick breakdown to clear things up:
| Attribute | Trusted Device (e.g., iPhone, Mac) | Trusted Phone Number (Any Phone) |
|---|---|---|
| Primary Role | Displays verification codes for new logins. | Receives codes via SMS or call as a backup. |
| Requirements | Must be an Apple device (iPhone, iPad, Mac) signed into iCloud. | Can be any phone capable of receiving calls or texts. |
| Code Display | A pop-up notification appears directly on the screen. | A standard text message or automated voice call is received. |
| Best Use Case | Day-to-day verification when you have your devices with you. | Account recovery when you've lost your trusted device. |
Ultimately, you need both. Relying solely on your trusted devices is risky, and having only a phone number misses out on the seamless integration Apple offers.
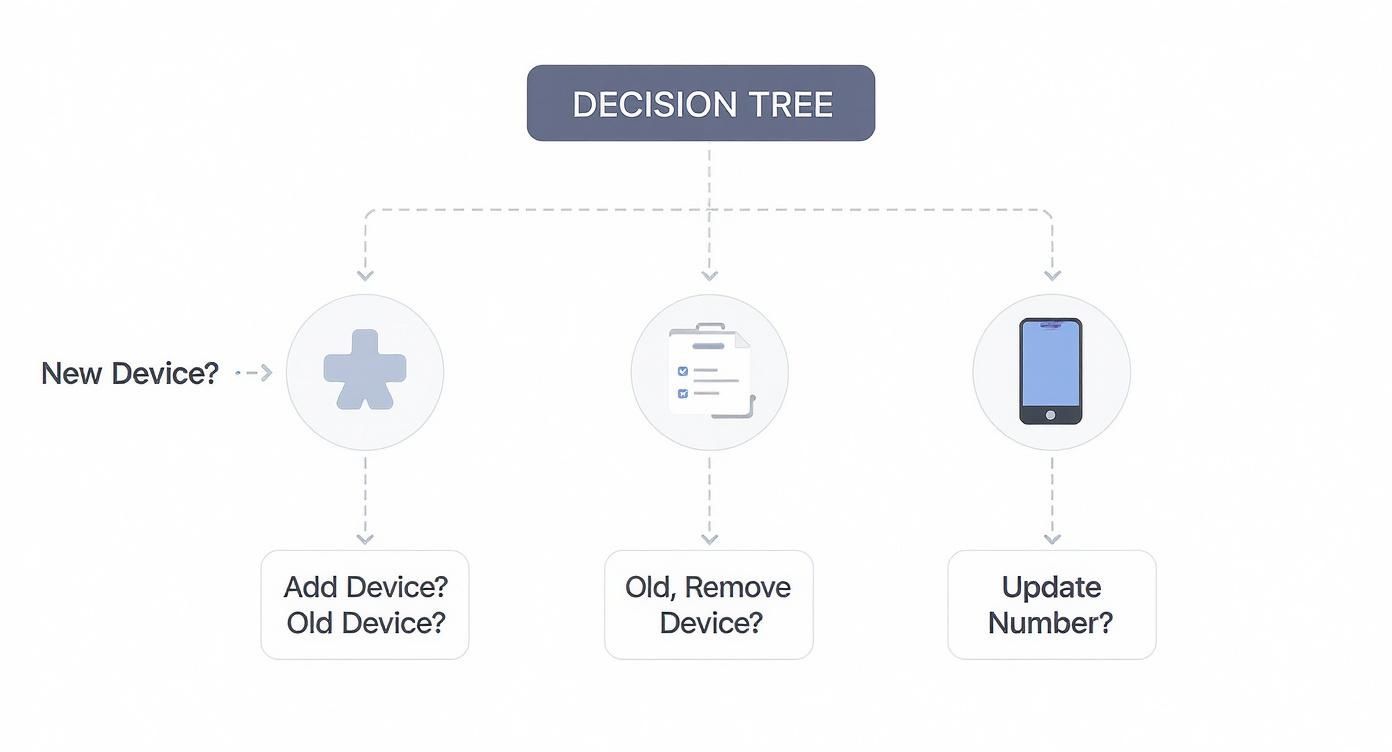
Adding and Removing Devices with Confidence
Over time, your lineup of Apple gear will inevitably change. You might upgrade to a new MacBook or decide to sell an old iPhone. Every time a device enters or leaves your life, your trusted devices list needs to be updated to match.
The good news is that adding a new device is incredibly simple. When you get a new iPad, for example, just sign in with your Apple ID. When prompted, complete the two-factor authentication, and that new iPad is automatically added to your trusted list. It’s designed to be secure and seamless.
Removing a device you no longer use is even more critical. Before you sell, trade in, or give away an old iPhone, you absolutely must remove it from your account. This action revokes its ability to approve logins and cuts off its access to your iCloud data. A crucial part of this process is learning how to remove iCloud from your iPhone, which makes sure your personal information is wiped clean and the device is no longer tied to you.
You can see and manage every device linked to your account right from your iPhone's settings.
This screen gives you a bird's-eye view of everything authorized to use your account. If you tap on any device, you can see more details or, more importantly, remove it with a single tap.
Building a Resilient Backup System
What happens if you lose your iPhone and your Mac is at home? This is where your trusted phone numbers become a lifeline. Relying on just one number—your primary cell number—is a huge gamble. What if you switch carriers and forget to update it, travel internationally without service, or simply lose your phone?
Pro Tip: Always register at least one secondary trusted number. This could be a work phone, a partner's or family member's number, or even a service like Google Voice. The goal is redundancy. You want to guarantee you have a way to get a verification code, no matter what.
Here's how to add another number and give yourself that peace of mind:
- Head over to Settings and tap your name at the top.
- Go to Password & Security.
- Look for Trusted Phone Number and tap Edit, then Add a Trusted Phone Number.
- Just enter the new number and verify it with the code Apple sends.
Taking these two minutes now can save you from a world of frustration later. This principle of keeping your account access secure isn't unique to Apple, either. For instance, if you're using AccountShare, you'll find similar logic in our guide for removing a device from Netflix to keep your shared subscriptions tidy and secure.
Using Advanced Account Recovery Options
Your trusted devices and phone numbers are your day-to-day security layer, but what happens in a worst-case scenario? If you lose everything, you need a failsafe. Apple has built a couple of powerful options right into iCloud for just this kind of emergency: the high-security Recovery Key and the more forgiving Account Recovery Contacts.
Think of them as two different emergency plans. One is like stashing a master key in a bank vault—only you can get it. The other is like giving a spare key to a trusted neighbor. They work in completely different ways, and choosing the right one for you comes down to how you prefer to manage risk and responsibility.
The Recovery Key: A Double-Edged Sword
Let’s start with the most extreme option: the Recovery Key. This is a randomly generated, 28-character code that puts you in absolute control of your account. When you turn this on, you’re essentially telling Apple, "Step aside, I’ll handle recovery myself." From that point on, nobody—not even Apple Support—can help you reset your password. It all comes down to that code.
This level of control is a huge plus for security purists, but it carries a massive weight of responsibility.
Let me be crystal clear: if you lose your Recovery Key and lose access to your trusted devices, you are permanently locked out of your account. Forever. There is no workaround. No one can help you.
You absolutely must store this key somewhere safe and offline. We're talking about a physical printout in a fireproof safe or a bank's safe deposit box, not just a file on your desktop or a note in your phone. This is for people who trust their own systems more than anything or anyone else.
Before even thinking about these advanced options, you need to have your basic trusted devices and numbers in order. Keeping those up-to-date is your first line of defense.
As you can see, managing your primary devices is fundamental. Only when that system breaks down do you turn to these deep recovery methods.
Account Recovery Contacts: A More Forgiving Alternative
If the thought of a single point of failure like the Recovery Key gives you anxiety (and for most people, it should), then an Account Recovery Contact is a much more practical choice. This feature lets you designate a few people you trust—think close family or friends—to help you get back in if you're ever locked out.
Here’s how it works: you start a recovery process on your own, and your designated contact gets a special code on their Apple device. They simply read that code to you over the phone or in person, and you use it to prove it’s really you. It’s brilliant because they never get access to your account; they just act as a secure channel to pass you a key.
So, who should you pick?
- Someone you trust implicitly: This is the most important part. A spouse, a sibling, or a best friend you’ve known for decades.
- Someone who is an Apple user: They’ll need an iPhone, iPad, or Mac running a recent OS to receive the code.
- Someone you can actually reach: In a pinch, you need to be able to get ahold of them without much fuss.
This approach creates a human safety net. Instead of relying on a single, high-stakes code you could lose, you’re relying on the people you trust. For the vast majority of users, this is a far more practical and less stressful way to secure your digital life.
Solving Common Authentication Problems
Sooner or later, even a perfectly set up iCloud account can throw you a curveball. Maybe a verification code vanishes into thin air, or you're hit with a login prompt you weren't expecting. It’s frustrating, but don’t worry—most of these issues are common and have simple fixes.
The trick is to troubleshoot methodically instead of jumping to conclusions. More often than not, the problem is something simple, like a spotty Wi-Fi connection, rather than a deep, complicated account issue. Let's walk through a few of the most frequent authentication headaches and get them sorted out.
Why Am I Not Receiving Verification Codes?
This is, by far, the number one problem people run into. You're trying to log in, you see the prompt that a code has been sent, but your trusted device is completely silent. Before you start pulling your hair out, run through this quick checklist.
- Check your connection. Your iPhone or Mac needs to be online to get that pop-up notification with your code. If you're on weak Wi-Fi or have no cellular signal, that code isn't coming through.
- Generate a code manually. You don't have to wait for the push notification. On your iPhone, just head to Settings > [Your Name] > Password & Security and tap Get Verification Code. A code will pop up right there on your screen, ready to use.
- Fall back on your phone number. If your trusted device just isn't cooperating, look for the "Didn't get a verification code?" option on the sign-in screen. This gives you the choice to have the code sent as a text message or a phone call to one of your trusted numbers.
Honestly, sometimes the simplest trick works best. I've found that more than half the time, just toggling Airplane Mode on and off on my iPhone is enough to kickstart the connection and have the code show up instantly.
Running through these steps solves the issue in the vast majority of cases. It's a quick way to get back into your account without having to resort to more drastic recovery options.
What to Do If a Trusted Device Is Lost or Stolen
Losing a device is a nightmare, but this is exactly the kind of situation your iCloud security is built for. Your absolute first priority is to cut that device off from your account.
From any other computer or phone, go straight to your Apple ID account page and sign in. Head to the Devices section, find the missing device in your list, and click on it. You'll see an option to Remove from Account.
Clicking that button immediately revokes its trusted status. It can no longer be used to approve new sign-ins or receive verification codes, effectively shutting it out of your account's security loop. This keeps your account safe even if someone else has the physical device. After you've secured your account, you can then use Find My to try and locate it or wipe its data remotely.
Answering Your iCloud Authentication Questions
Even with a perfect setup, you're bound to run into some specific questions when using iCloud's extra security features in the real world. Let's walk through a few of the most common situations I see pop up and get you some clear, practical answers.
What Happens If I Lose All My Trusted Devices at Once?
This is the ultimate "what if" scenario, and it's a scary thought. If you find yourself in the tough spot of losing access to every single trusted device at the same time, you'll have to fall back on your other recovery methods. The first line of defense is usually your trusted phone number—you can have a code sent via SMS or a phone call.
But what if you can't get to that number either? Your last resort is to kick off the official account recovery process on Apple's website. Be prepared, though—this is an automated process designed to be slow and deliberate to protect your account. It can easily take several days to complete because it's built to stop anyone but you from getting in.
This is precisely why setting up an Account Recovery Contact or a Recovery Key is such a game-changer. Think of them as your express lane back into your account, letting you bypass the much slower standard recovery process.
It’s like having a spare key hidden under a rock. You hope you’ll never need it, but you'll be incredibly relieved it's there if you do.
Can I Use an Android Phone as a Trusted Phone Number?
Yes, you absolutely can. This is a common misconception. A trusted phone number doesn't care if it's connected to an iPhone or an Android device. All that matters is that the number can receive a standard SMS text message or an automated voice call.
This is actually a brilliant way to add a layer of security. Feel free to add your work phone (even if it's an Android), a partner's or family member's number, or even a landline. It gives you a reliable backup plan for receiving a verification code if your primary iPhone isn't available.
Is It Safe to Use on a Shared Family Computer?
It’s perfectly safe, as long as you’re careful about one critical step. When you sign into iCloud on a new web browser, Apple will ask you a very important question: "Trust this browser?"
If you are on any computer that isn't exclusively yours—like a family desktop or a public library machine—always click "Do Not Trust."
Making this choice means you'll have to enter a fresh six-digit verification code every single time you log in from that browser. This is your safeguard, preventing the next person who uses the computer from getting anywhere near your account. Save the "Trust" option only for browsers on your own personal devices that you have full control over.
At AccountShare, we know that juggling multiple subscriptions securely without breaking the bank is a top priority. Our platform makes it easy to get premium services for a fraction of the price through secure group sharing. Check out how you can start saving on your favorite accounts by visiting us at https://accountshare.ai.